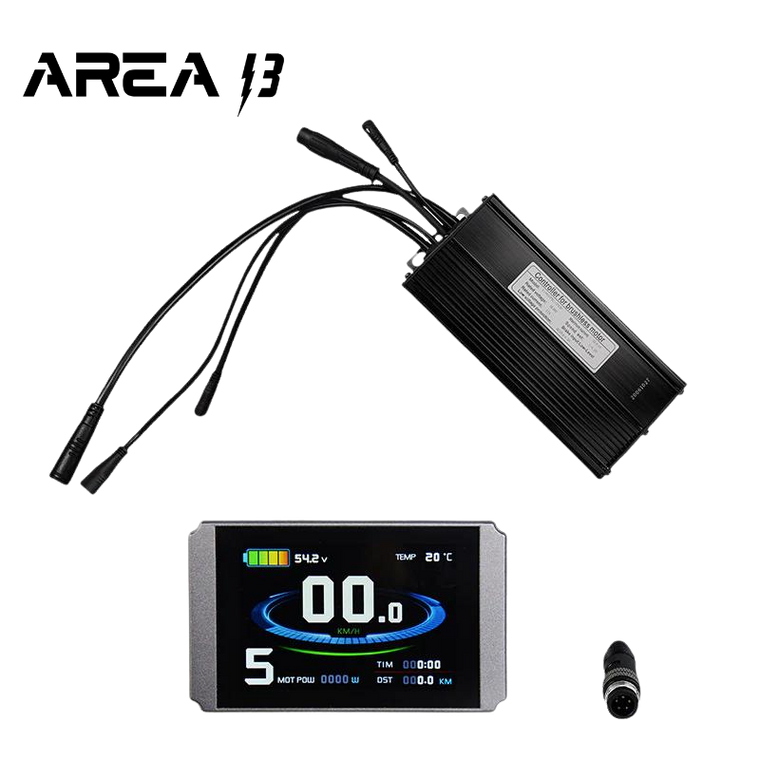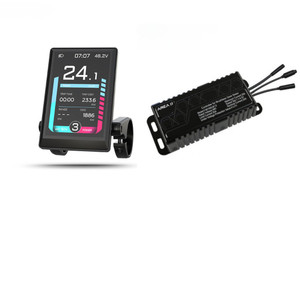
By far the most popular upgrade available, The Upgrade kit includes a new motor controller and new color display. The combination allows you to finally unleash the full potential of the stock motor and battery. This is THE upgrade kit your friends have been talking about.
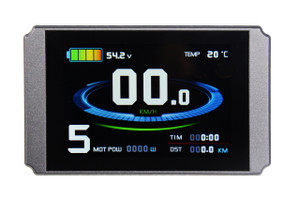
35a controller and New Color LCD8H.
PLEASE READ FULL DISCRIPTION BEFORE ORDERING. CUSTOMER IS RESPONSIBLE FOR RETURN SHIPPING AND A 10% RESTOCKING FEE.
Plug and play for 2016-2018 Rover bikes. Please note that the controller has a tail light plug that will not be used. We do not recommend upgraded lights as it can burn up the headlight circuit.
Plug and play for 2019-2021 Rover models. (Up to Rover 5) (Not compatible with Rover 6) Will only work with stock 200 lumen headlight, will not work with the 500 Lumen headlights. THE 500 will burn up your controller.
Mini - Although also typically plug and play for 2018 and prior, this controller is substantially larger than stock and will not fit inside the frame or stock mounting locations. May have a different battery plug. Please check your bike and photos before ordering.
Older City or Wagon Models - Untested, but customers have reported it works well. Setting adjustments may be required. Controller may not fit correctly. Additional mounting hardware may be required. NOT compatible with new Radwagon 5.
Rover 6 + STEPOVER & STEP THROUGH- Does not work
Runner - Tested and working on prior models.
Rad 5Expand - works
Mission - Works, we recomend turning max power down.
Runner Two - Untested by Area 13, but customers have reported it is compatible.
Runner Plus - Tested and Working. NOT COMPATIBLE WITH 500 LUMEN STOCK HEADLIGHT.
Works with all European/Canadian models except Rover 6
Compatible with both 48v and 52 batteries. (NOT recommended for 60v)
Dimensions: 7.5" x 3.25" x 1.75"
How to Program:
The LCD screen has a handlebar mounted switch with three buttons, UP, DOWN, and a center Power button. 1. Start with battery and handlebar switch on. The LCD will be off.
2. Turn on LCD by pressing and holding POWER button. Holding the UP button will turn on the backlight if needed.
3. Within 5 seconds of turning LCD on, press and hold BOTH UP, and DOWN buttons for a few seconds to enter the settings mode.
Brief explanations are as follows.
P1 Motor Characteristic Parameter Setting Mode (100, 46 for direct drive motors on the Radcity or some Radwagon models)
P2 Wheel Speed Pulse Signal Setting Mode (5, 6 for upgraded 750w motors)
P3 Power Assist Control Mode (1)
P4 Handlebar Startup Mode (0)
P5 Power Monitoring Mode (15)
C1 Power Assist Sensor and Parameter Selection Mode (3)
C2 Motor Phase Classification Coding Mode (0)
C3 Power Assist Ratio Gear Initialization Mode (1)
C4 Handlebar Function Setting Mode (0)
C5 Controller Maximum Current Adjustment Mode (6)
C6 Backlight Brightness Adjustment Mode (3)
C7 Cruise Function Setting Mode (0 or 1. Setting to 1 enables cruise. While riding, hold the DOWN button to enable cruise control. Using the throttle or brakes will disable the cruise.
C8 Motor Operating Temperature Display Mode (0)
C9 Power-on Password Setting Mode (0)
C10 Automatic Restore Default Setting Mode (n)
C11 Attribute Selection Mode (0)
C12 Controller Minimum Voltage Adjustment Mode (4)
C13 ABS brakes of the controller and parameters of anti-charge control (0)
C14 Power-assist tuning parameters (1)
Press and hold POWER at any time to exit the setup mode.
Troubleshooting
* This is a universal kit. New controller may not fit in stock location and physical size may be different.
I cannot get my headlight to turn on:
Long press the UP arrow to turn the lights on and off.
Pedal assist is not working properly:
- If after adjusting the settings your pedal assist still does not work, check the following cables to ensure they are fully plugged in, check the pedal assist sensor connection. Make there is no bent or pins, and it is fully seated together:
- Pedal assist connector (yellow 3 pin coming from sensor)
- Motor Cable
- Main wiring harness (the one typically ran through the frame). Make sure there is NO bent pins
- If all the connections are good and no damage done to the pins or connectors, try changing the C1 setting to 2.
- If it still does not function, please check to make sure the motor works with throttle to eliminate a different type of problem. If throttle works but the pedal assist does not, the next step would be a different pedal assist sensor, or the stock motor controller and display. This should narrow down where the problem is occurring.
“Motor position sensor fault” or “Motor or controller short circuit fault!”:
In nearly all cases of receiving this error, the motor cable is not fully seated. Please note that the arrows can sometimes be up to 1/8th turn off. The cable should be firmly seated with the lines around the circumference of each half of the plug nearly flush. Wiggle back and forth on both cables and push firmly together.
I have a 48v battery, but it says 53v (or similar):
This is perfectly normal. A 48v battery when fully charged will be about 54 volts.
My battery voltage is over 48v, but the gauge reads empty:
Take the bike for a ride! Depending on settings it may be waiting for calibration. A few seconds of riding should fix this. If the problem persists, check the main harness connection coming from the controller through the frame and up to the handlebars. Check for any bent pins. A single bent pin will cause issues.
My speed does not read correctly, it jumps up to 49mph when coasting (and/or reads 0):
Please verify your P2 setting. An incorrect setting here will cause the wrong speed to be displayed when coasting. Also make sure you have the correct wheel dimension (DIM). The dimension is the overall tire diameter, not just the rim size. P2 = 5 for stock motor. P2 = 6 for upgraded Bafang 750W motor.
RadCity and RadWagon (direct drive motor):
Note that some settings may need to be changed for proper operation. P1 is determined by the number of magnets or poles in the motor as well as the gear reduction. As the RadCity and older RadWagon have a direct drive motor, use the setting 46 for P1. P2 may also require a change for a correct speed reading.
Motor or system shuts down while riding:
Adjust your C5 setting to a lower current output. Settings 0-2 are different take off speeds followed by max power. 3 is the lowest current output and 10 is the highest. Take the bike for a spin and adjust the current output till you find a happy medium the controller and motor are happy with. For stock motors, we recommend 5 - 7 for C5.
CHECK OUT THIS YOUTUBE VIDEO FOR STEP BY STEP SET UP. https://www.youtube.com/watch?v=B0F6x8V0NZQ
*The Upgrade Kit is created for specific models of Rad bikes, and that name is used for part compatibility or identification only. We are not affiliated with that company and this item is an aftermarket part.
Reviews
-
2019 Rad Rover...
2908 miles and shorted the controller by eroded wiring harnesses. Replaced the harness and installed Area 13 Upgrade Kit. OMG!!!! wish I had done this sooner. The increase torque is unreal.
-
The UPgrade...
I am actually glad my stock controller failed. This is a game changer going up hills faster and with ease. If your on the fence with this purchase you won't be disappointed. I hope it lasts as 2 Rad controllers have failed for me.
-
So far so good.
Still learning screen and controls. It has substantially more torque. It's twice as powerful on the bottom end and gained a Lil more top speed.
-
Preliminary results totally...
I installed the new kit yesterday. No problem, everything fit and well connected (all connectors plugged well and tight). The new one regulator is a little bigger but my bike had enough room to accommodate the upgrade. The response of the bike is clear and strong. Be careful the first time you use the throttle!, it is a strong acceleration. I noticed a "delay" in the cadence sensor response. I explain this by saying the kick of the motor has become more noticeable with the upgrade.
-
Absolutely...
The upgrade kit is amazing and is more powerful than I expected. Also, my battery usage is not noticeably higher. Thank you and I will be purchasing from Area 13 again.
-
Upgrade
Haven’t yet installed it but Ive done a few and people love it
-
Torque is good!
I love the power it gives to my bike now!! Going to make more upgrades soon
-
Upgrade kit
All went well, also did you stop supplying clamps with the kits? Mine had none. No worries, all good!
-
Great...
We have used the Are 13 upgrade kits on over 30 Rad Rovers, 11 Rad Runners and we have always had success with this an affordable easy, pretty much plug and play solution for those customers looking to significantly improve the performance of their Rad Power product..


